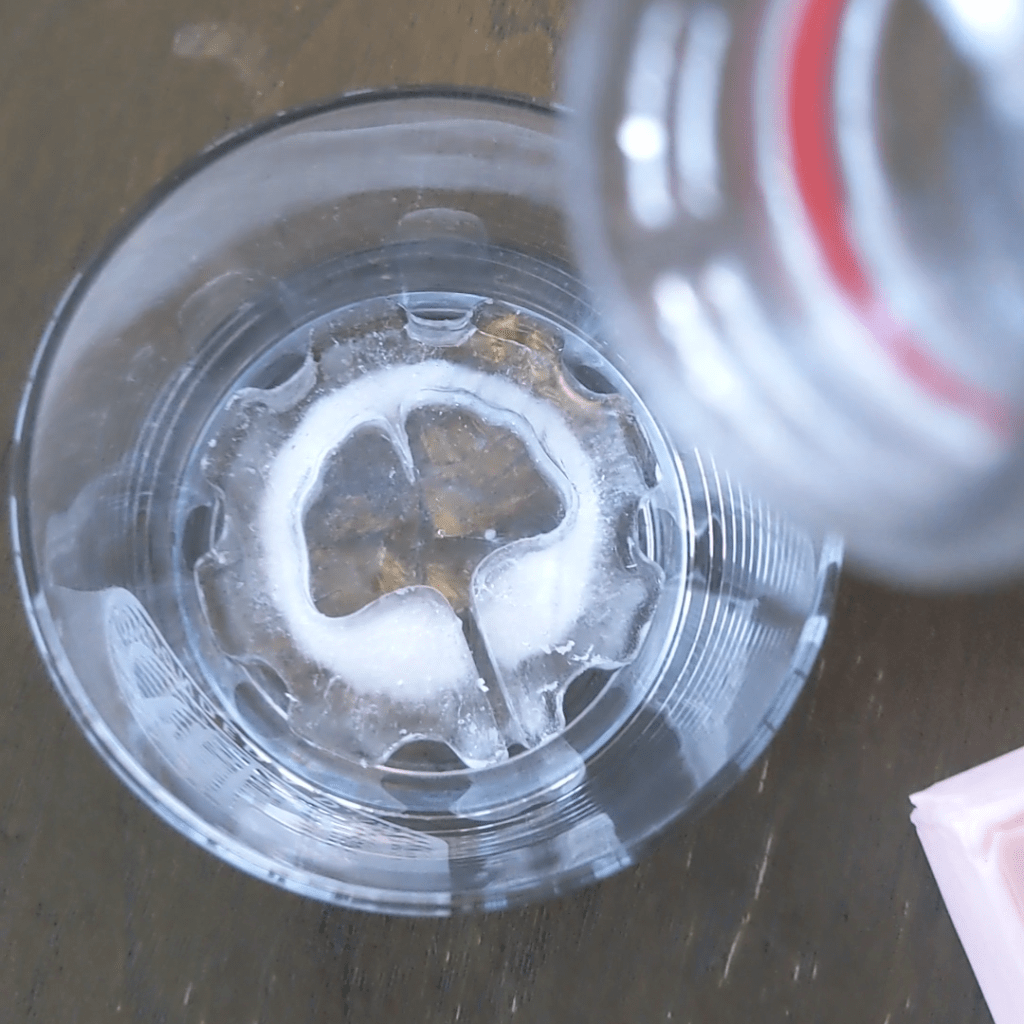
I started this project in order to do a fun test 3D print and calibrate my 3D printer. It turned out to be way more work than I thought it would. I wanted cool ice cubes for tumbler glasses.
Brainstorming the Ice Mold
The 3D Printer
One of the first tools I got when I moved to Boston was a 3D printer. I was brainstorming what could be a fun project to learn about how the printer and slicing software works. I’d used 3D printers several times in the past and was familiar with operations and maintenance but had never assembled one from a kit. It took a fair amount longer than I thought it would and when it was completed I immediately wanted to print something with it. At the time I had no projects that were ready to use the machine, so I decided to make something that I could complete quickly.
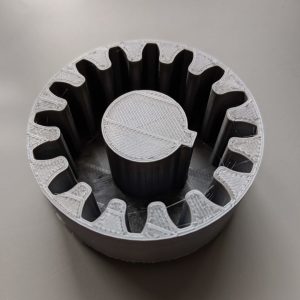
I left my spherical ice cube molds in Atlanta when I moved and thought that could be a simple starting point. While I liked the spheres, I wanted something more awesome. Like a mold of a wolf’s head or fire. I wasn’t in the mood to do my own artwork and wasn’t very impressed with what I was able to find online, so I simplified the idea. A gear is a fundamental symbol for mechanical engineering and I went with that. I grabbed a model of a gear with a keyed shaft off the internet and scaled it so it would fit nicely in a glass. Without any more thought I printed it and tested it out.
As with all projects, I underestimated the work that would be necessary.The picture to the right is my first attempt at an ice mold. Clearly is is not possible to remove an ice cube from this. It is sealed on three sides and has to be completely melted before it can be removed. Also there is no flex in the mold and a ton of surface area so the ice sticks very strongly.
Two Part Mold
My next strategy was to use a two part mold. I thought that if I was able to separate the mold the ice would be easy to remove afterwords. The problem was that the PLA I was printing with was not strong enough for this method. I think the ridges caused by 3D printing also made the ice hold to the plastic better. I finally ended up breaking the handle on top while trying to separate the mold.
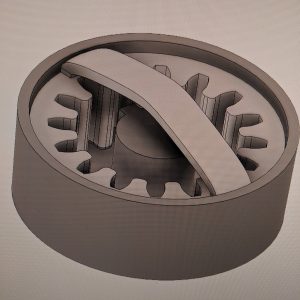
I finally accepted that using plastic for the mold was not going to work. Looking at other ice molds it’s easy to see that the molds are never 100% rigid. Also the lack of infill in the print made it so that the thermal conductivity of the mold was very high. In other words, running it over with water didn’t help melt the ice away from the plastic at all. On top of it all, the plastic can wear over time and no one wants to eat plastic while drinking whiskey.
Moving to Silicon
Rethinking the Design
At this point I went back to the drawing board. The amount of spokes weakened the design and made the ice more prone to cracking. Also the mold seemed boring and simple. The company I work for has a gear in their logo and so I changed course and modeled the logo and instead. I took an image of it and turned that into a digital file using a vector graphics program (Inkscape is what I have used for years, it is similar to Adobe Illustrator but free). I then extruded that shape using a CAD program (I use Solidworks or Fusion 360 and switch between them).
Now that I knew what the ice cube would look like, I did some research into how to create a negative for a mold. I found an example which used poster board to create a box and filled it in with two-part silicon. The object to be molded was placed at the at the bottom of the box before the silicon was added. I went with this strategy and used food-grade silicon.
The First Real Prototype
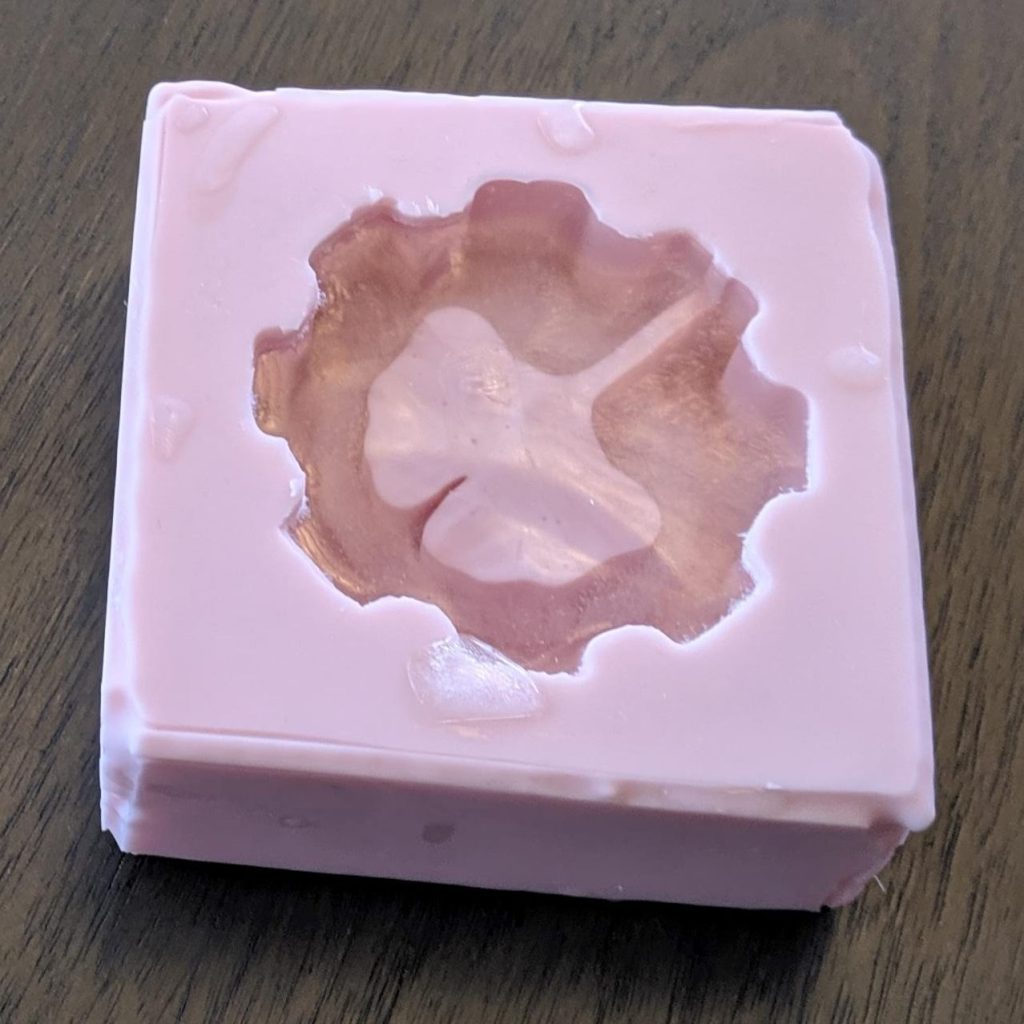
This solution finally worked! It created an ice cube that could be removed. However it was still difficult to remove and the ice often cracked. To solve this I shaved down the inner extrusion of the mold. Now the inner design was only a recess and did not protrude all the way through the ice.
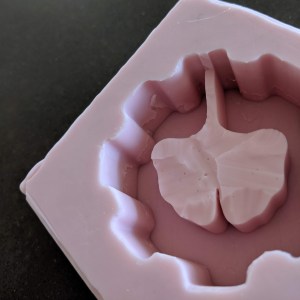
The only problem was that when the ice melted there were pink flakes in it. The inside of the mold was flaking, getting stuck in the ice, and ripping off of the mold when the ice was removed. I tried removing the flakes by hand but more and more comes off. My guess is that the weakness in the surface of the mold is do to a build error. When I poured the silicon into the poster board box a I used an excessive amount of mold release. I think it hurt the ratio of the mixture right on the surface. If that is not the case I will have to do more testing to figure out the cause.
